Each object (and also any group of objects) can have a clipping mask applied. This mask ensures that only parts of the object are visible. This mask is useful for pictures, for example, when you want to hide their background.
Example
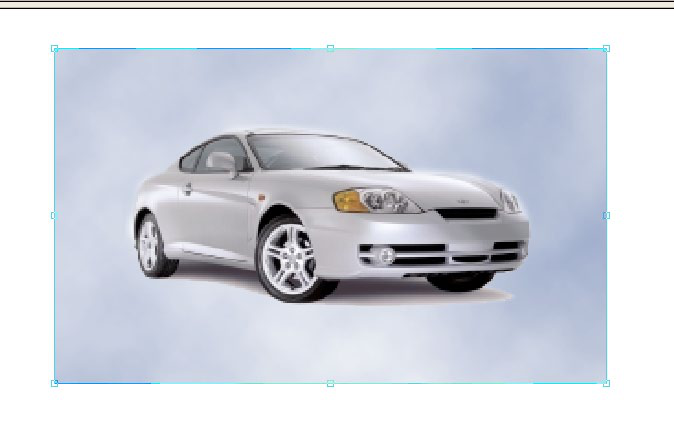
In this example, we want to use a clipping mask to hide part of the picture.
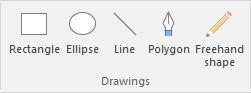
| 1. | Turn to the drawing tools on the ribbon tab Insert | group Drawings. |
| 2. | Use the tools to draw a shape — an oval in this case. This shape sets the outline of the clipping mask and is also known as a path. Any path can serve as a clipping mask and not just the shapes of the built-in drawing tools. |
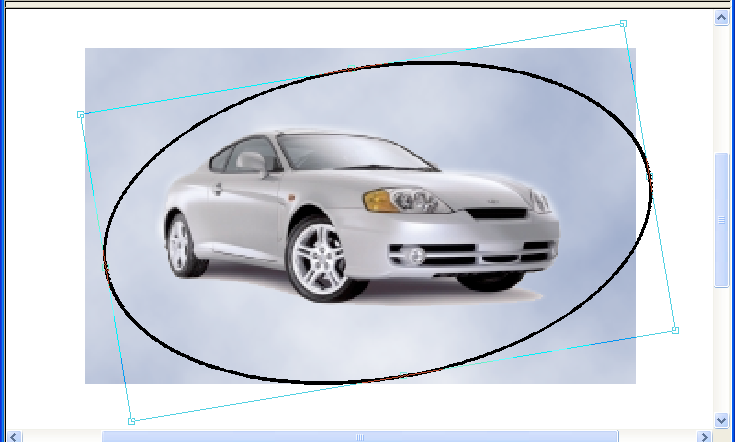
| 3. | Select the new shape, and then choose the ribbon command Format | group Clipping Mask | Clipping  | Convert to clip | Convert to clip  . . |
| This shape is now displayed with a pink outline. |
| 4. | Select the Object tool  in the Quick access toolbar. in the Quick access toolbar. |
| 5. | Now select both the clipping mask and the picture by clicking on both objects while holding down the Shift key. |
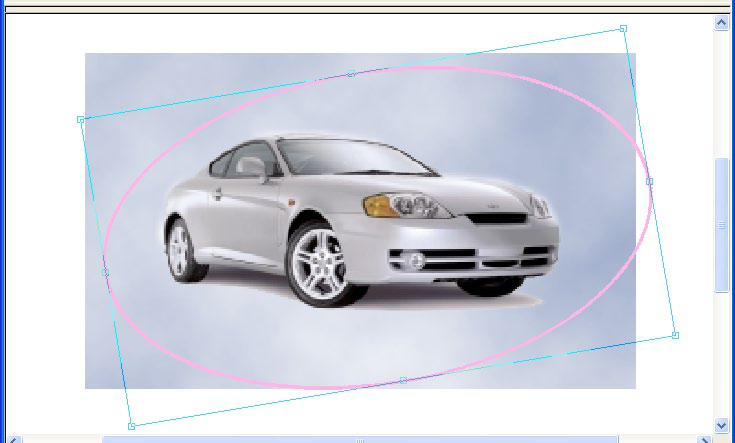
| 6. | Choose the ribbon command Format | group Clipping Mask | Clip | Add to Clip  . . |
| 7. | The picture has now been added to the clipping mask. The parts of the picture "outside" the clipping mask are no longer displayed. |
Notes
▪When you open a PDF file, empty clipping masks are automatically removed.
▪Clipping masks have neither a line thickness nor a fill or outline color.
▪Clipping masks are only displayed if the Object tool is selected.
▪You can move clipping masks independently of the clipped objects. To prevent this, group the objects. For more information, see Grouping objects.
▪If you want to add multiple objects to a clipping mask, you must first group the objects. For more information, see Grouping objects.