With these preliminary thoughts in mind, let's look at how such problems can be solved with PlanMaker.
To do this, start PlanMaker now.
Under Windows, PlanMaker looks like this:
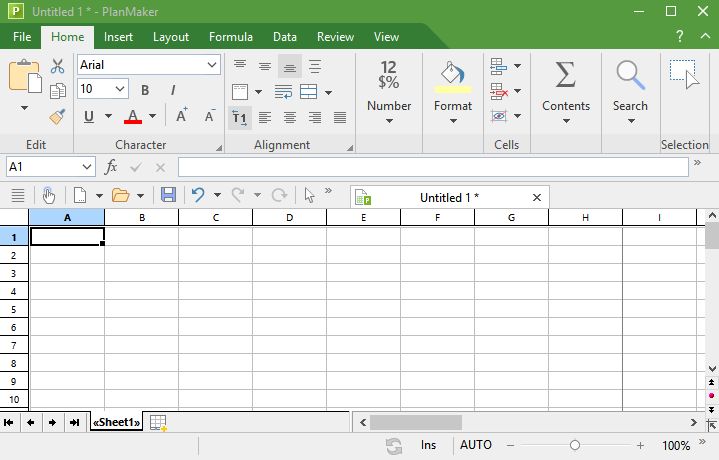
Most of the program window is taken up by the worksheet. On the top, it is bordered by a row of alphabetic characters, on the left by a column of numbers.
Let's have a closer look at the worksheet:
The structure of a spreadsheet
As you already know from chapter Basics, a worksheet is divided into rows and columns. This is also visible through the gray lines that are displayed in the worksheet.
The cell in the upper left corner is surrounded by a dark frame. This is the so-called cell frame. The cell frame indicates which cell is currently active:
![]()
When entering data, it is always placed in the active cell.
You can use the arrow keys on your keyboard, e.g. â and à, to move the cell frame from one cell to another.
While you do that, take a look at the Edit toolbar above the worksheet: at the very left, PlanMaker displays the address of the currently active cell. The address always consists of one or two alphabetic characters and a number:
A1 means column 1, row 1.
A5 means column 1, row 5.
D5 means column 4, row 5, etc.
The fact that each cell has a unique address is the key to all functions of a spreadsheet: This allows you to enter calculations in any cell that relate to other cells – for example, to form the sum of cells. You do not even need to deal with variables like a, b, c, but simply use the coordinates of the cells.
This is like handing someone a worksheet and asking them, for example, "Please add the numbers in the second, third and fourth row of the second column".