You can use the command AutoFormat to change the layout of entire table areas at once.
Tip: By inserting "Tables in worksheets" using the ribbon command Insert | Table, you can apply different table styles even better. You will find a wider range of styles, additional features and better handling via this function. You can then further customize the table style on the ribbon tab Table | group Style. For more information, see Tables in worksheets.
Note: The command AutoFormat is not available on the ribbon by default. However, you can add this command as a separate button on a ribbon tab. To do so, choose the ribbon command File | Customize | Customize ribbon and then proceed as described in Customizing icons and groups in the ribbon.
The menu command is still to be found in the classic menu interface: Format > AutoFormat:
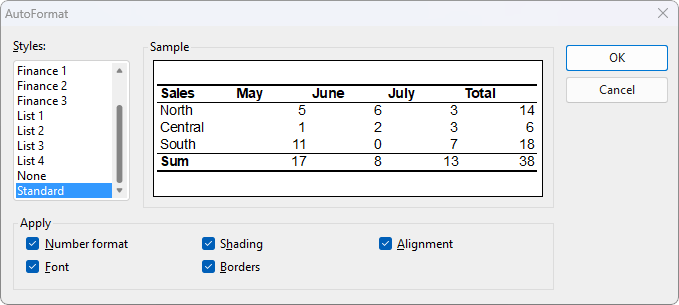
The dialog box for this command shows a list of predefined "AutoFormat styles" whose appearance can be previewed in the Sample field. To apply an AutoFormat style, simply select a table area in the worksheet, choose the above command, select the desired style and click on OK.
The options in the Apply section of the dialog box let you choose which formatting options to apply. If, for example, you disable all options except Borders, only the borders of the AutoFormat style will be applied; all other formatting of the table will remain unchanged.