FreeOffice: Mail merge is not included in SoftMaker FreeOffice.
You find mass mails, created via mail merges, in your mailbox almost every day – for example, the seemingly unavoidable advertising letters from mail order companies, insurance companies, etc.
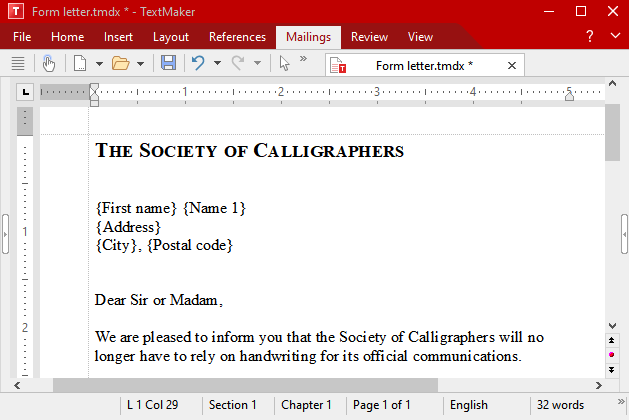
A mail merge – the addresses will appear later in the fields {First name}, {Name1}, etc.
Of course, mail merges can also be used for useful things. How would you go about sending written invitations to a meeting to all members of a sports club? Normally, you would type the letter, enter the first member's address in the letterhead and then print the letter. You would then use the next member's address and print it again, etc.
It is precisely this repeated manual insertion of addresses that TextMaker can assume when you create a mail merge for the invitation.
In principle, proceed as follows (see the following pages for more information):
| 1. | If you have not yet recorded the addresses of the recipients in a database, create or open a database and enter the addresses in it. The supplied database addressbook.sqlite is very well suited for recording addresses, but you can use any database you like. |
| 2. | Start a new document. |
| 3. | Use the ribbon command Mailings | Select database | Use existing database |
| 4. | Write the letter. |
| 5. | Insert the corresponding database fields for name, street, city, etc., at the point where you want the address to appear later. |
| Use the ribbon command Mailings | group Insert | Database field |
| 6. | If you don't want to write to all the addresses: Open the database module with the ribbon command Mailings | group Recipients | Select recipients and select all addresses to which you want to write. |
| 7. | Print the letter via the ribbon command File | group Print | Print merge. |
When printing, TextMaker replaces the database fields with the data from the database – record by record. As a result, the data from the first data record is used for the first letter, the data from the second record for the second letter, etc.
The following sections describe each of the required steps in detail, from the creation of a mail merge document to the printing of the completed document. The information covers the following topics:
▪Assigning a database to a document
▪Viewing test records in the text
▪Selecting records for a mail merge