FlexiPDF enables you to edit text in a PDF document as if you were using a word processor.
| 1. | Open the PDF file that you want to edit. |
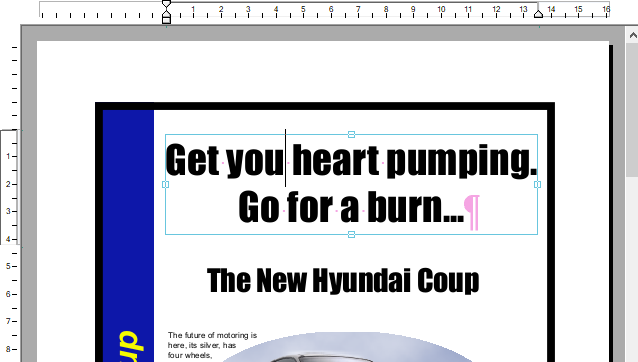
| 2. | In this example, an "r" is missing from the word "you". |
| 3. | Select the Text edit tool  in the Quick access toolbar. The Text edit tool is the default tool when FlexiPDF starts, so it may already be selected. in the Quick access toolbar. The Text edit tool is the default tool when FlexiPDF starts, so it may already be selected. |
| Tip: The respective selected tool is indicated by the darker button. |
| 4. | Click on the text that you want to edit in order to start editing. You'll see some pink marks – the pink dots represent spaces, while the ¶ symbol represents the end of a paragraph. These marks appear only during editing and are not visible in other PDF viewers. |
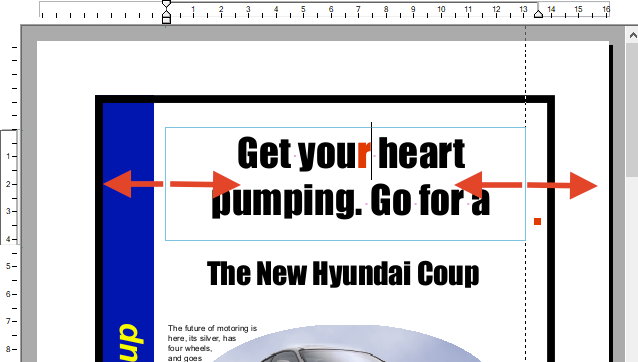
| 5. | Edit the text. In this example, an "r" is added to "you". |
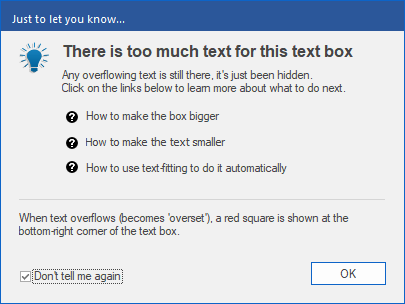
| As soon as you do this, the program displays a warning about text overflow: |
| This is because the text box now contains too much text. This warning only appears once in order to alert you to the problem of Text overflow in general. |
| Otherwise, a text overflow is indicated by the red square  on the right margin of the text box. on the right margin of the text box. |
| 6. | To expand the text box in order to accommodate the additional text, drag the handles outwards to the right and left using the mouse. The text should then fit within the box. If this is not the case, try the Text fitting function. |
| In this case, the new "r" will be displayed in red. (If the option Show changed text in: red is enabled, see Highlighting changes.) This highlighting is only visible in FlexiPDF and not in other PDF viewers. |
| 7. | If you have adjusted the size, save the changes by choosing the command File | Save as. |
| If you are using FlexiPDF in trial mode, you will see the following dialog box: |
| You now have two different options: |
| Save your PDF with a watermark on all edited pages. You can remove this watermark later with the purchased software. |
| Unlock FlexiPDF with the product key you received when you purchased it. (For more information, see Unlocking your software.) After you have unlocked it, of course, watermarks will no longer be added to PDFs. You will also be able to remove existing watermarks. To do so, open the PDF with the unlocked FlexiPDF and save it again. |
Notes
▪If you have reached a final state for your document and you do not want the changes you have made to be indicated any more, then save your work with the command File | Save as | Save as final.
| The Highlight changes function mentioned above, as well as all change history data, grid lines and guides, etc., will then no longer be displayed for this document the next time it is opened, but the changes themselves will of course be preserved. |